
Alternatives To Burial: Plastination
Jump ahead to these answers:
What Is the “Body Worlds” Exhibit?
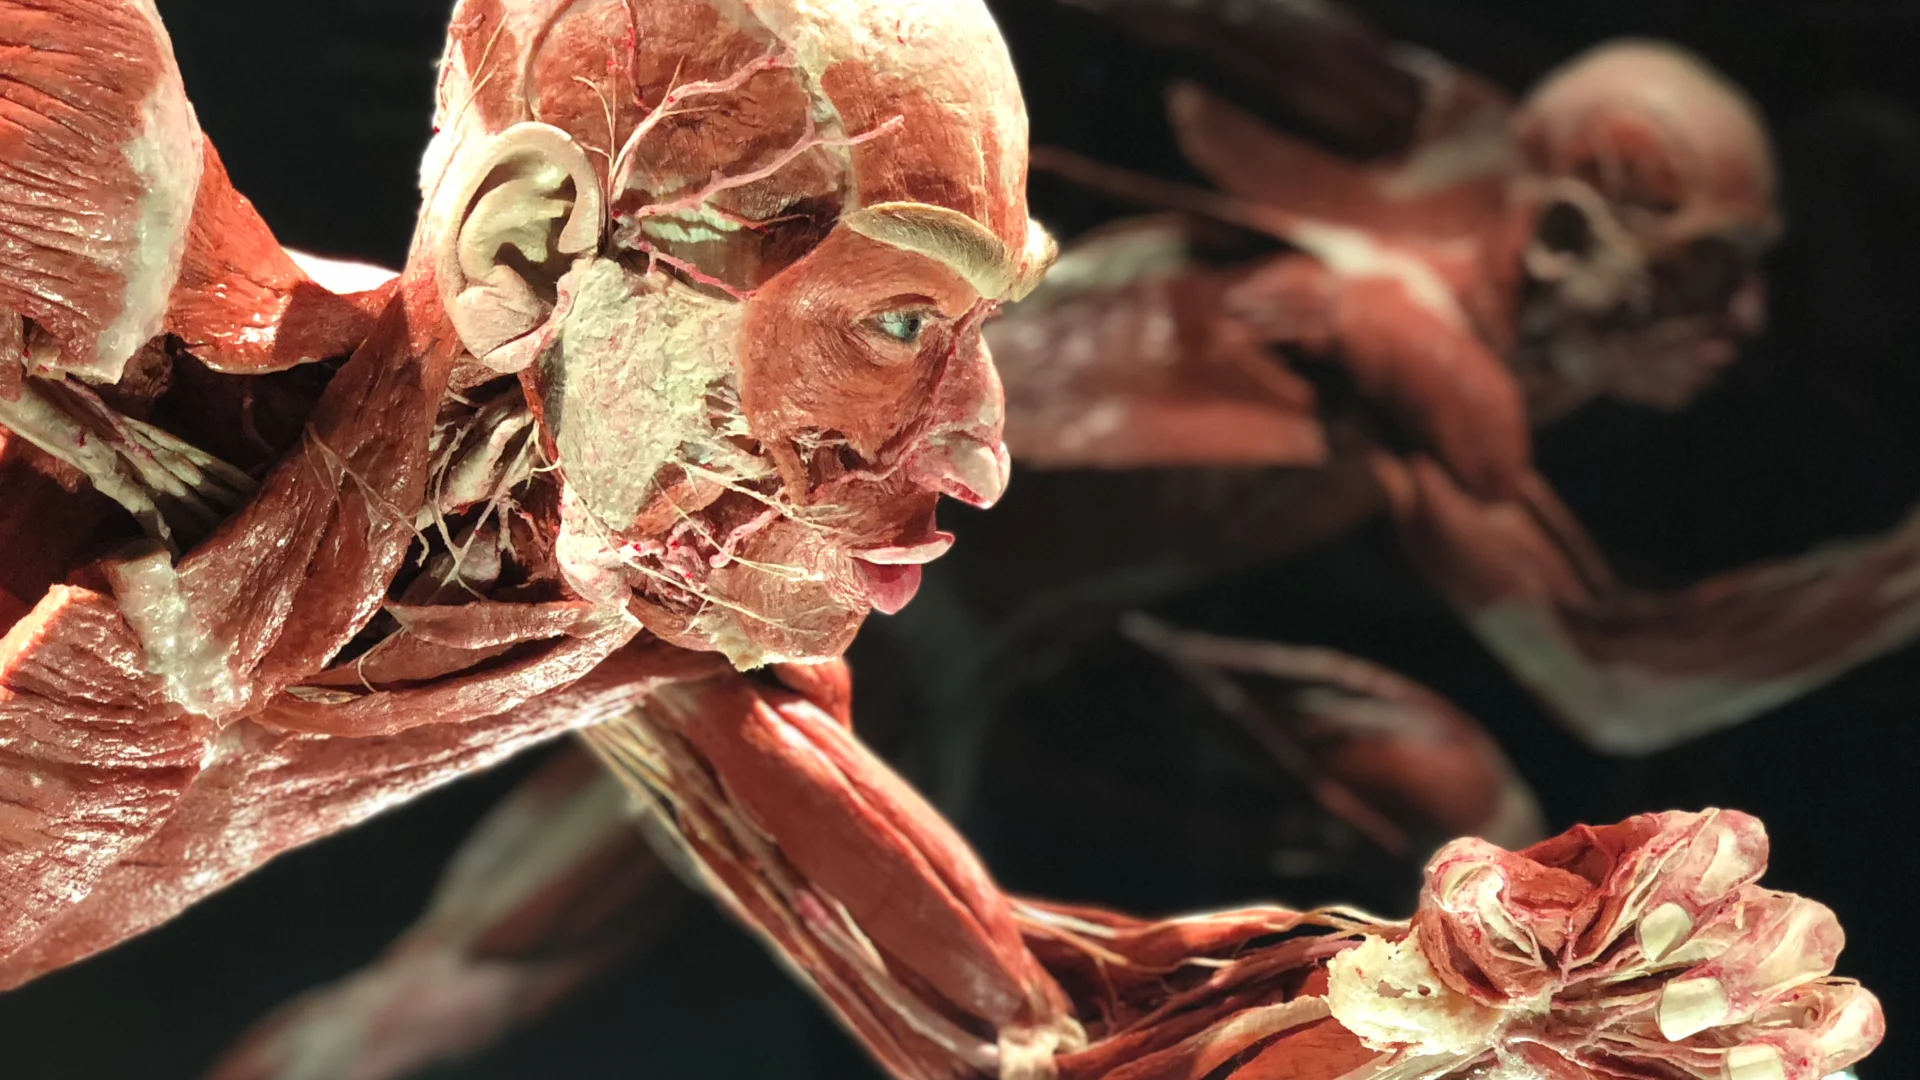
July 7th, 2025Body Worlds is a traveling exhibition that showcases human bodies and other anatomical specimens that have been preserved through a process called plastination. The exhibit has traveled throughout the world, and some cities also have permanent exhibits available. The purpose of the exhibit is to inform visitors about anatomy, health and physiology through the viewing of the human body. Each exhibit features real human specimens, which include organ configurations, individual organs, translucent slices of the body, and presentations of the whole body.
Body Worlds has been traveling since 1995 and has been showcased in 154 cities around the world. One of the most recent exhibits from Body Worlds is “The Anatomy of Happiness”, which explores how people define happiness and the effects that the experience of happiness has on the body and mind. The lack of happiness and its detrimental implications for the body are also examined in greater detail through showcasing the damaging effects of alcohol, tobacco, and disease. The use of plastination allows visitors to see the human body and the effects of these factors on the body in a manner that would not normally be accessible. While demonstrating the overall intricacy of anatomy, it also helps visitors to see the impact of their lifestyle behaviors and choices on their bodies.
Since its introduction in 1995, the Body Worlds exhibit has been a source of fascination and controversy for many individuals. Many people have a curiosity about death and the human body, so the exhibit is one way of gaining more insight into the complexities of both. Those who support the exhibit often cite its educational value to the greater public. However, some have shared ethical concerns surrounding how bodies were sourced and whether the exhibit is a form of exploitation. Despite these differences in opinion, Body Worlds has proven to be an ongoing success around the world.
Sources
“Reconsidering Body Worlds: why do we still flock to exhibits of dead human beings?” The Conversation. https://theconversation.com/reconsidering-body-worlds-why-do-we-still-flock-to-exhibits-of-dead-human-beings-57024
“A new exhibit featuring preserved human bodies is making its North American debut in Boston”. Boston. https://www.boston.com/things-to-do/events/body-worlds-boston-exhibit/
“Body Worlds: Questions & Answers”. Body Worlds. https://bodyworlds.com/about/faq/
“The impact of Body Worlds on adult visitors’ knowledge on human anatomy: A preliminary study”. PubMed. https://pubmed.ncbi.nlm.nih.gov/26789643/
What Is the Process Involved in Plastination?
July 7th, 2025Plastination is a process that preserves biological tissue, including human bodies, using polymers. It comprises six steps: fixation, dissection, dehydration, forced impregnation, positioning and curing. However, terms for these steps may vary somewhat, such as on the Body Worlds exhibit website. German anatomist Dr. Gunther von Hagens developed the plastination process in 1977. It preserves the body with as much detail as possible for educational and instructional purposes. The six steps can take over a year to complete to achieve a plastinate that lacks odor and will not decay.
The first step of plastination is known as fixation, which is embalming. Formaldehyde or another preservation solution is injected into the arteries of the specimen to prevent any potential tissue decomposition. This step takes around four hours to prepare but ultimately requires one year to complete.
The next step is dissection, which is time-consuming given the amount of detail that remains in finished plastinates on display. Fatty and connective tissue is removed along with skin to achieve anatomical structures that will be dehydrated. This step takes at least 500 hours of labor and can extend up to 1000 hours.
The third step, dehydration, removes all of the fluids from the body. This is achieved by placing the specimens in an acetone bath so that water and soluble fats are dissolved and replaced by acetone, which will later be replaced by polymers. The entire step of dehydration takes around four months to complete.
In the fourth step of the process, known as forced impregnation, the specimen is submerged in liquid polymer and put into a vacuum. Polymers may be composed of polyester, epoxy resin, or silicone. Placing the specimen in the vacuum forces the acetone to vaporize, and the specimen absorbs the polymer instead. This step takes approximately two months.
After forced impregnation, the specimen is still flexible and can be positioned during step five. During this step, the sample will be moved and arranged with needles, wires, clamps, foam blocks, and other materials to ensure that it is positioned in a manner that properly showcases the anatomical structure. Correctly positioning the specimen is crucial, so this process typically takes around 60 to 90 days.
The final step is curing, which hardens the specimen into a plastinate. Heat, light, or gas may be used during this step to harden the polymers used in step four during forced impregnation. The final result transforms the specimen into a plastinate that will not decompose and is ready for display.
Sources
“The Plastination Process”. Anatomic Excellence. https://anatomicexcellence.com/about-plastination/plastination-process/
“Plastination Technique”. Body Worlds. https://bodyworlds.com/plastination/plastination-technique/
“Gunther von Hagens’ Plastination Technique”. Arizona State University. https://embryo.asu.edu/pages/gunther-von-hagens-plastination-technique